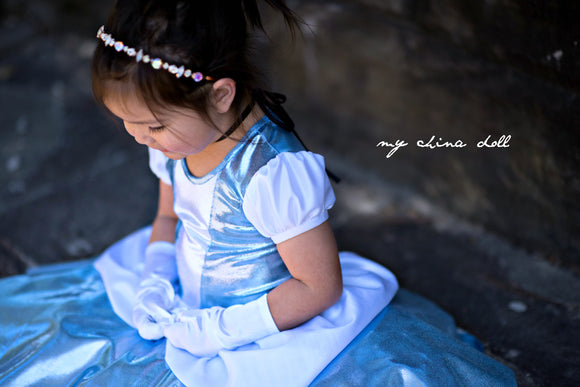
Hi I'm Katy from my china doll and I am self professed BOO! spandex addict lol! I created a princess dress for my daughter using the Boo! metallics range and added puff sleeves to complete the look. Adding a gorgeous puff sleeve to the spandex sleeved skater dress is actually easier than you think. There are three types of puff sleeves you can create from the basic sleeve pattern piece - gathering at the top, gathering at the bottom or gathering along the top and bottom. I am going to describe how to make a puff sleeve by gathering both the top and bottom of the sleeve.
NOTE: When altering the pattern piece it is important to make all the changes to the head and hem of the sleeve but not within the under arm area.

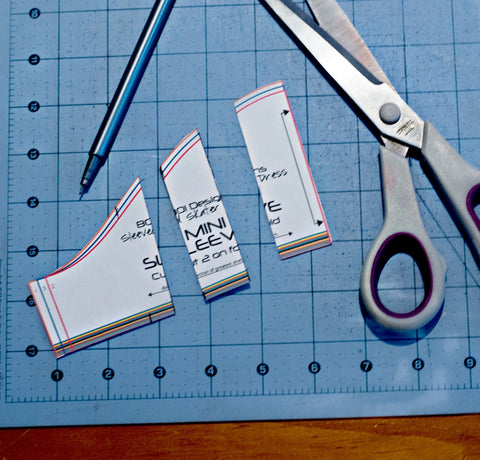
Firstly, you need to print the mini sleeve pattern piece from the sleeved skater dress and trace/cut the desired size. Then you need to measure along the length of the hem edge of the sleeve and double this measurement. You will use this measurement to create the arm band. Cut a band 1.5" x double sleeve hem measurement. For example, the bottom edge of my size 4 sleeve measured 4.5" so I doubled this measurement to get 9", so I will cut my band 1.5" x 9". Use a fabric marker to mark the centre of the binding and put aside.

Now we need to alter the pattern piece to create a new puff sleeve pattern piece. You need draw 2 lines 1-1.5" apart starting from the fold edge of the pattern piece.

Next, cut along these drawn lines.

Grab a blank piece of paper to create the new pattern piece. Spread the cut pieces approximately 2cm apart and paste them down.

Now measure 2cm vertically from the top right corner of the pattern piece and draw a line. Create a curve from this point down as pictured below.

Cut out your new puff sleeve pattern piece.

Below is the puff sleeve pattern piece and binding you will have cut out. You need to cut 2 of each piece. Mark the centres and the gathering start and end points, remembering to avoid gathering under the armpit.


Gather between the points using your preferred method of gathering, I love to use a zig zag stitch over a long piece of thread. Insert the sleeve head into the bodice, tighten the gathers evenly and sew together. Please note in the following pics I have not attached the sleeve to the bodice for ease of demonstrating but yours will be attached the bodice at this point. Next gather the hem of the sleeve and attach it to the binding piece.


Join the side seam of the bodice and the short edge of the sleeve piece together and sew along this edge. Make sure your binding is opened and the overlocked edge is pointing down toward the binding.

To finish the sleeve, follow the same wrapped binding method as described in the pattern for finishing the neckline. Stitch in the ditch as pictured below and your puff sleeve is complete!

Happy sewing!
xx Katy


Christina
Thank you so much for sharing this tutorial. I really wanted to add puffy sleeves to my grandblessings dress and your method worked perfectly!